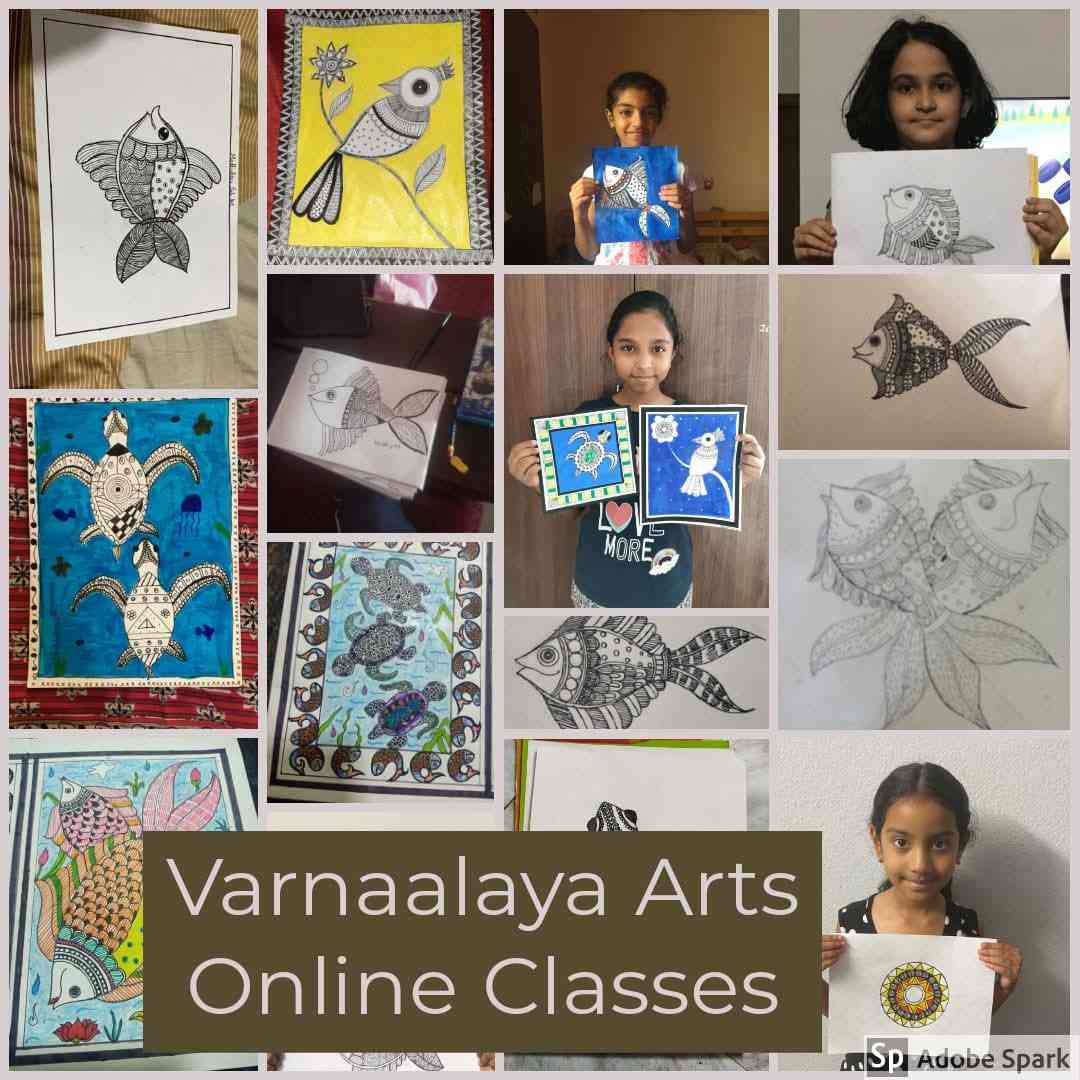
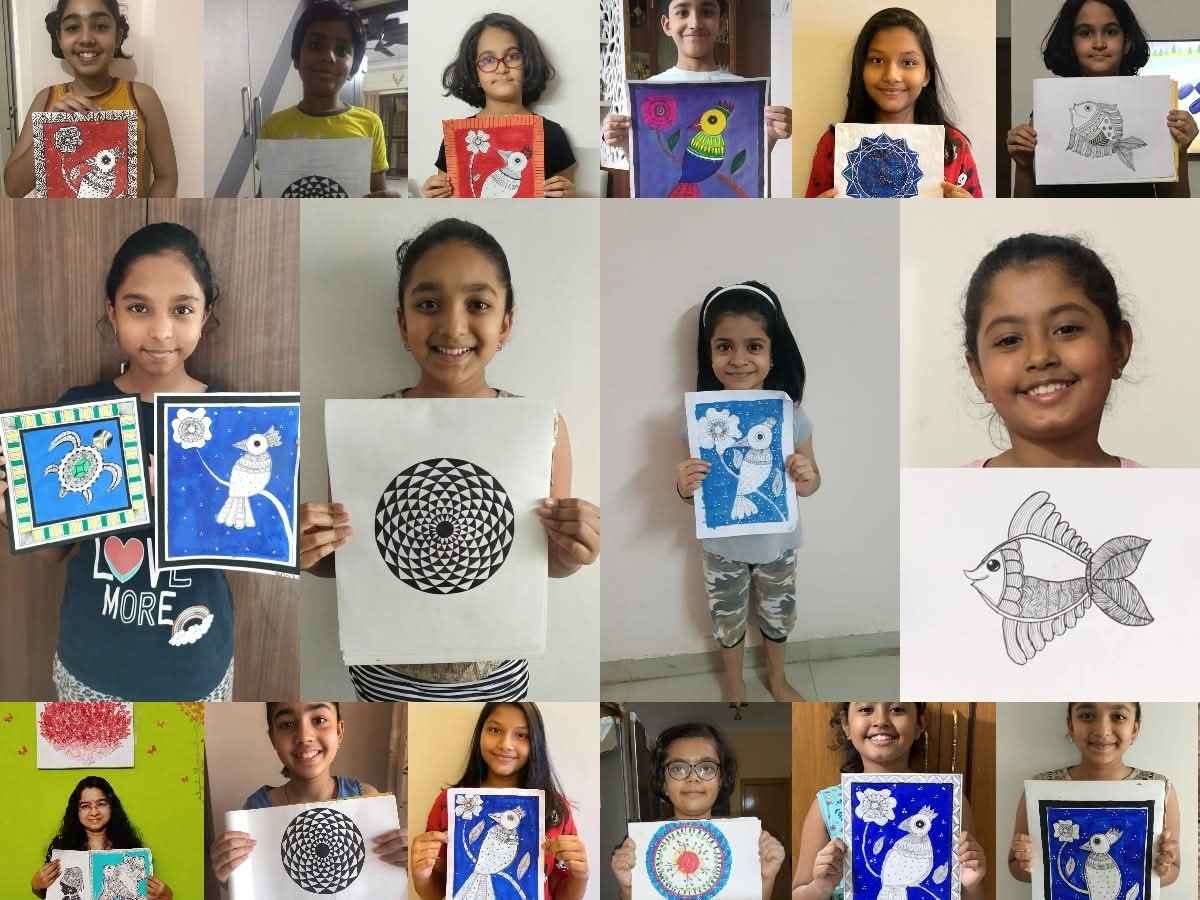
Starting online art classes can be a practical way to share your artistic skills with students from different locations. With the right class format, teaching plan, materials, and online setup, you can create a comfortable learning experience for beginners, kids, teens, or adults.
Thinking of starting online art classes from home? See how to plan your lessons, choose a class format, set up your space, and teach students online.
1. Choose What You Want to Teach
Before launching your course, define exactly what you will teach. Focusing on a specific subject helps you attract the right audience and stand out in the market.
🎨 Pick Your Art Subject
Popular Online Art Subjects:
Drawing & Sketching: Fundamentals, Graphite & Charcoal sketching, Perspective drawing.
Painting: Watercolour basics, Acrylics, Oils, Fluid art.
Traditional & Cultural Art: Tanjore painting, Madhubani, Warli, Indian traditional art styles.
Digital Art & Illustration: iPad/Procreate drawing, Vector illustration.
Start with subjects that match your skills and can be explained clearly through an online format.
2. Decide Your Student Group
👩🎨 Select Your Target Students
Kids
Teens
Beginners
Adults
Intermediate artists
Students preparing for art courses
Knowing your audience helps you plan the difficulty level, teaching style, class duration, and activities.
Kids → Teens → Beginners → Adults → Intermediate
3. Build a Simple Class Curriculum
📚 Online Art Class Curriculum
A structured curriculum gives students a clear idea of what they will practise throughout the course.
Sample 6-Week Beginner Course Plan
Week 1: Master Lines, Basic Geometry & Pencil Control
Week 2: Understanding Light, Shadows & Shading Techniques
Week 3: Colour Theory & Blending Basics
Week 4: Guided Still Life / Landscape Practice
Week 5: Hands-on Creative Project
Week 6: Final Showcase, Portfolio Review & Feedback
4. Prepare the Art Materials
✏️ Basic Materials
Sketchbook or drawing paper
Pencils and erasers
Colour pencils or paints
Brushes
Ruler and basic tools
Materials based on the chosen course
Share the material list before the first class so students can keep everything ready.
5. Select an Online Teaching Platform
💻 Set Up Your Online Classroom
Choose a video meeting platform
Check your camera and microphone
Test screen sharing
Keep your artwork visible
Check lighting and camera position
A stable internet connection and a clear camera view are important when demonstrating drawing and painting techniques.
Camera → Microphone → Internet → Screen sharing → Artwork visibility
6. Set Up Your Teaching Space
🖼️ Create a Demonstration Area
Use good lighting
Keep the artwork clearly visible
Position the camera correctly
Keep materials within reach
Reduce background distractions
For art classes, students need to see the teacher's hand movements, strokes, colours, and detailing clearly.
- How to Start Online Art Classes from Home: Ultimate Step-by-Step Guide for Artists (2026) — Starting online art classes can be a practical way to share your artistic skills with students from different locations.
- 1. Choose What You Want to Teach — Before launching your course, define exactly what you will teach.
- 2. Decide Your Student Group — Kids
- 3. Build a Simple Class Curriculum — A structured curriculum gives students a clear idea of what they will practise throughout the course.
- 4. Prepare the Art Materials — Sketchbook or drawing paper
7. Plan Each Class in Small Stages
🖌️ Simple Class Flow
Explain the technique
Demonstrate the step
Students practise
Check their work
Give individual feedback
Move to the next stage
Breaking an artwork into smaller steps makes online instruction easier to follow, especially for beginners.
Explain → Demonstrate → Practise → Review → Correct → Continue
8. Give Individual Feedback
💬 Student Feedback
Check proportions
Correct drawing techniques
Explain areas for improvement
Encourage regular practice
Review completed artworks
Individual feedback helps students understand their mistakes and improve their technique through regular practice.
Observe → Identify the issue → Explain the correction → Let the student practise again
9. Decide Your Class Format
🗓️ Choose a Suitable Format
One-to-one classes
Small group classes
Weekend batches
Weekday sessions
Short workshops
Long-term courses
Choose the format according to your subject, student age group, course duration, and teaching approach.
10. Start With a Trial or Demo Class
🌟 Before Starting the Full Course
Conduct a demo session
Understand the student's level
Explain the course structure
Introduce the required materials
Answer questions
A demo class gives students an opportunity to understand the teaching process before joining the complete course.
Online Art Class Setup Checklist
✅ Ready to Start?
Art subject selected
Student group identified
Curriculum prepared
Materials list created
Online platform selected
Camera and microphone tested
Teaching space arranged
Class schedule planned
Feedback process prepared
Demo class planned
Final Thoughts
Learning how to start online art classes becomes easier when the teaching process is divided into clear stages. A well-planned curriculum, suitable materials, proper online setup, demonstrations, practice time, and personal feedback can create a more organised art learning experience.